Permissions: Ensure you have administrator access to your Jira instance. Here's a guide to permissions in Jira.
Note: If you're trying to connect a local instance to Unito, you'll want to follow this guide on how to create an application link in Jira Server.
How to connect Unito to your Jira Cloud instance
- To add Jira from within the app, head to your Unito Dashboard.
- Connect a new tool

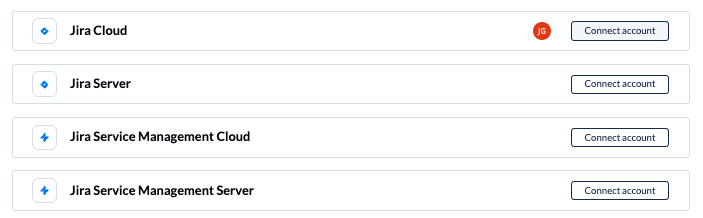
- Scroll down to the Jira product of your choice and select Connect account.
- Enter your Jira site or server URL

If you choose OAuth 2.0, you can simply follow the on-screen instructions and proceed. If you need to create an API token though, there are a few extra steps to follow, outlined below.
Connecting Jira to Unito with basic credentials and an API token
If you're connecting to Unito with an API token, you'll need to create it from your Atlassian account:
-
Log in to https://id.atlassian.com/manage-profile/security/api-tokens.
-
Click Create API token.
-
From the dialog that appears, enter a memorable and concise Label for your token and click Create.
-
Click Copy to clipboard, then paste the token when prompted in Unito.
-
Back in Unito, put your Atlassian URL in the first box. You don't need to include https:// at the beginning, you can simply format it as jira.example.com.
-
Type in your username and API token.
-
Make sure that the checkbox at the bottom is unchecked.
-
Update your Jira settings, and change your email settings to public.
That's it! You've successfully connected Jira to Unto. This is useful when OAuth isn't an option due to a lack of administrator privileges. Including your username and API key can get you started quickly while you work on obtaining OAuth permission from a Jira administrator.
Change your contact email visibility
If you haven't already done so, you'll need to change your contact email visibility before you can connect to Unito.
- Go to your Jira "Profile and visibility" page.
- Locate your email address and the "Who can see this?" dropdown menu.
- Change the visibility to "Anyone."
