The authorization process
If you sign up for a Unito account with an email and password combination, you'll need to connect your work app or tool before you can create your first flow. Here's an example of what that looks like with Trello:
If you click on Create flow, you'll be taken to Unito's quick-start walkthrough.
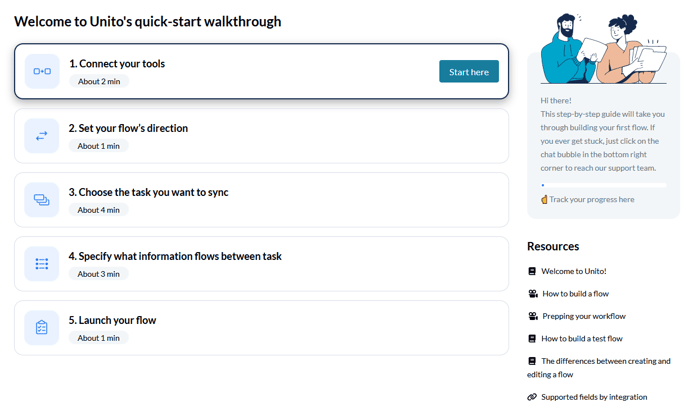
When you click on Start here, you can pick the tools you want to connect with Unito.

Click on + Add a tool to this flow.

If you've already connected tools to Unito, you'll see a My tools section and a More tools section. Find a tool you haven't already connected and click on it. Then, you'll see a dropdown called + Choose account. Click on it, then on Connect a new [tool name] account. Here's what that would look like if I was connecting GitLab to Unito.

For most of our integrations, you'll get a screen that looks something like this when connecting a new tool. Click on allow, or continue with authorization (depending on which tool you're connecting).
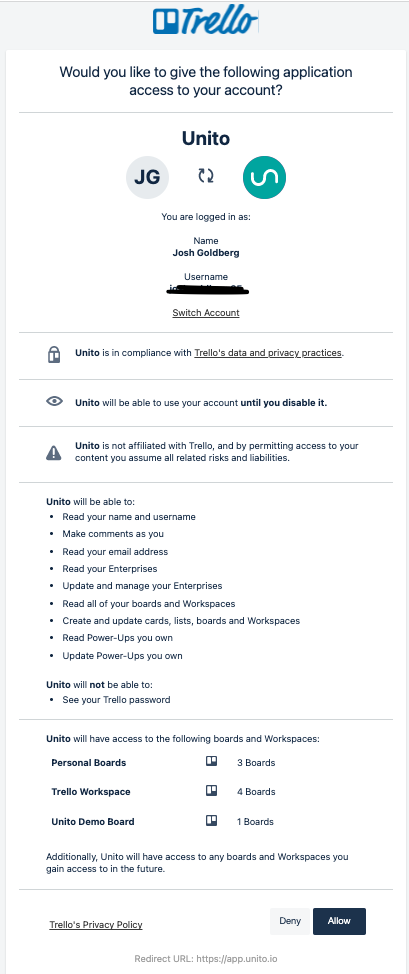
And that's all you need to do to connect most tools with Unito! You'll then be able to keep creating your flow.
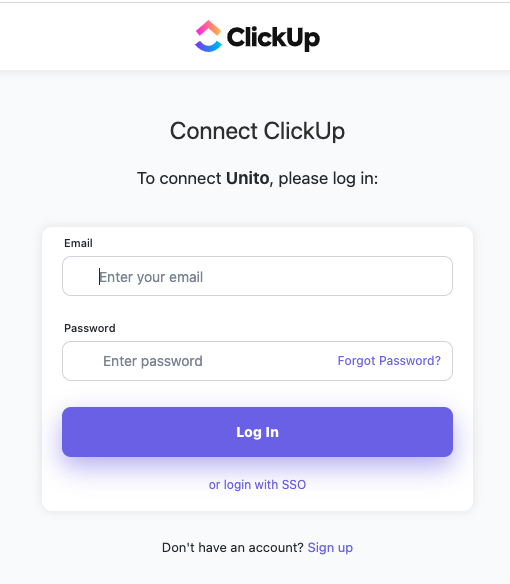
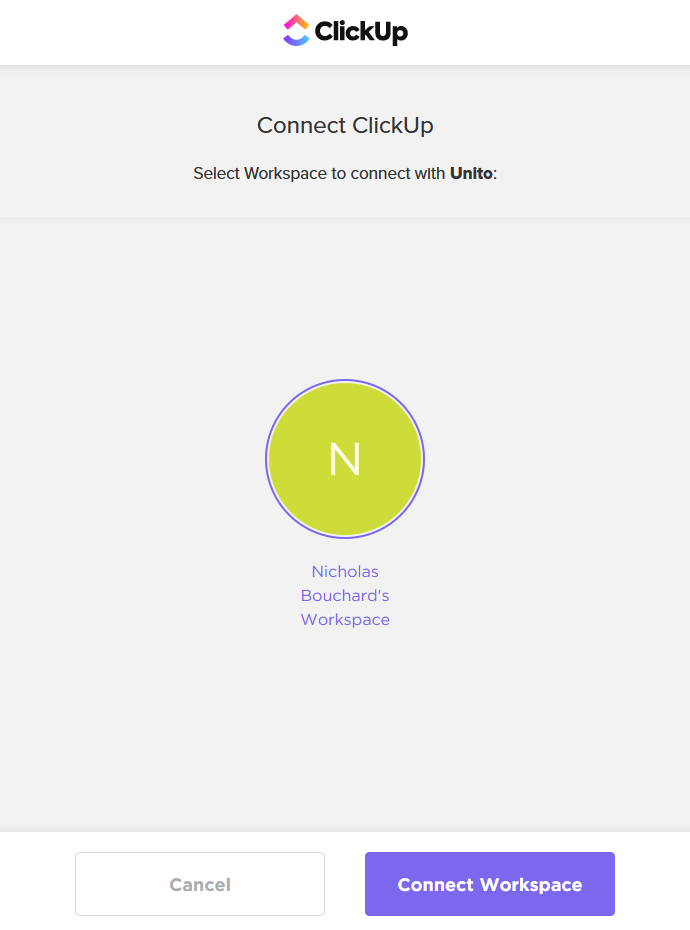
Note that this process can be a little different with some of our integrations. For some other tools, like ClickUp, you might have to log in and pick a workspace first.
Note that for some of our integrations — namely Jira — the process is a little bit longer.