Before you can sync Jira work items out of your projects, you'll need to connect your Jira Data Center with Unito. There are three ways to do this.
Authorizing with an API token
API tokens can be generated in Jira and added to Unito to create a secure connection. Here's how it works.
.png?width=657&height=878&name=image%20(6).png)
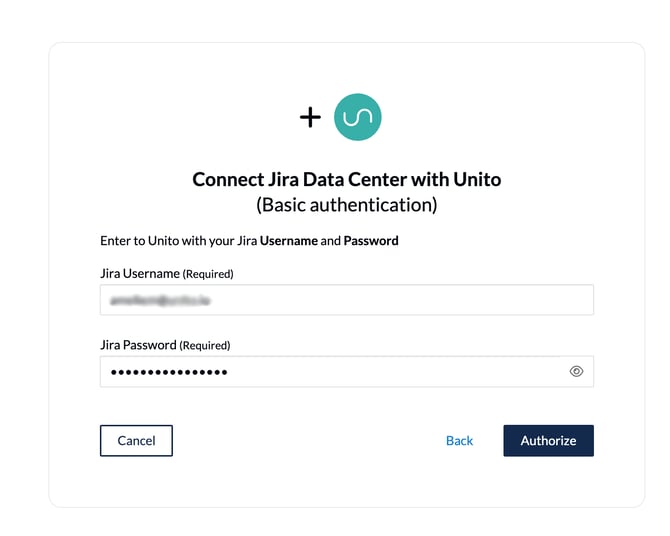
Authorizing with a username and password
The simplest way to connect Jira with Unito is to use your Jira credentials in Unito. Just use the same email and password that you use to log in to Jira.
Authorizing with OAuth
With OAuth, you can set up a secure connection between Jira and Unito. Here's the basic rundown.
(1).png?width=663&height=738&name=image%20(9)(1).png)
And now for the detailed steps-by-step. Once in Jira, you'll want to open the Jira admin settings through the gear in the top-right, then hit Application links.

From there, hit Create link.
.png?width=670&height=171&name=Jira%20oauth%202%20edit(1).png)
You'll then see this screen. Make sure to select External application and Incoming before hitting Continue.
(2).png?width=595&height=453&name=image%20(9)(2).png)
When prompted, enter https://app.unito.io/api/auth/jiradatacenter/callback as the redirect URL for your incoming link. It should look like this:

You'll then get a Client ID and a Client secret. Just copy and paste these into Unito, and you'll have successfully connected your Jira Data Center account with Unito!
