In this article:
Note: Due to limitation with the Zoho Projects API, Unito currently only supports workspaces with a domain ending in .com. If your domain ends with anything else, like .eu or .in, unfortunately it won't be supported by Unito.
Sign up for Unito
This step is pretty simple, but if you'd like to sync Zoho projects, you first have to sign up with Unito (no credit card required).
- Visit our Zoho Projects page and click Try it Free!
- Be sure to sign up to Unito with the same email address used with your Zoho Projects account.
- Follow the on-screen instructions until you reach the Unito dashboard.
Connect Zoho Projects to Unito
- Log in to Unito.
- From the Unito dashboard, click Connect a Tool.

- Scroll down to Zoho Projects and select "connect account".

- On the next screen, select Accept to enable Unito to sync tasks from Zoho Projects.

Create your first Zoho Projects flow
- Next, from the Unito dashboard, select +Create flow.
- Now, select Start here beside Connect your tools.

- Click +Add a tool to this flow in either the left or right-hand box (the order doesn't matter).
- Search for Zoho Projects and select it from the drop-down menu.

- Choose a project to connect in this flow. Only tasks from the project you select will sync to your other tool in this flow.
- Follow steps 3-5 to connect your other tool.
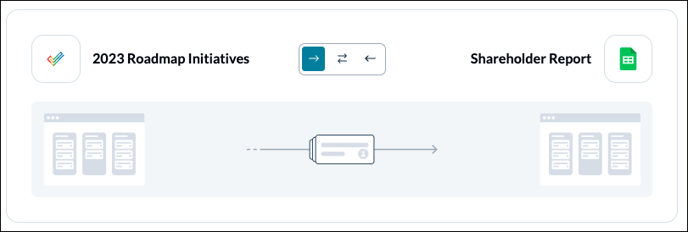
- Confirm. Here's an example of two connected tools:

Choose a flow direction for your Zoho Projects flow
Flow direction determines where work items (e.g., tasks) will be created by Unito.
- A one-way flow from Zoho Projects will create work items in your other tool based on your tasks.
- A one-way flow to Zoho Projects will create tasks in your project based on work items in your other tool.
- A two-way flow sends work items to and from Zoho Projects and your other tool.
Regardless of the direction you choose, your task fields will update with 2-way sync whenever changes are made.
Set up your rules for a Zoho Project flow
By default, Unito will sync all tasks from your chosen project created after you finish setting up your flow. If you want to change that, you can adjust the rules here.
To sync historical tasks, just remove the Creation date on or after condition.
You can also filter tasks by status. Simply select Add a new rule, then click Status and choose the statuses that will trigger a sync between tasks.

Select field mappings for your Zoho Project tasks
Here, you can tell Unito which task fields should sync to fields in your other work item. If you select Auto-map, Unito will pre-populate a list of suggested field mappings which you can then adjust. If you know exactly how you want your fields mapped, Start from scratch.

But if you want to add a new field mapping, all you need to do is click on Add mapping. Pick a field in each drop-down menu and keep going until you're satisfied. If you need help, here's a guide to field mappings.

And you’re done! Hit Save and close and your flow is now live. Need anything else? Here's an overview of Unito's Zoho Projects integration.